- What is your product version? 11.1.0
- What is your product type (Angular or MVC)? ASP.NET Core MVC
- What is product framework type (.net framework or .net core)? .NET Core
Not sure if this is documented anywhere so I did my best to get this working, however I am not sure it is a valid method or if it will break during upgrades in the future. There appears to be some missing information around authenticating/registering new users with OpenID and Azure AD.
Here are my steps I created in our Wiki, let me know if I need to consider modifications that may be best suited for the future of this framework (I have not tested in our test environment yet):
To utilize Azure AD authentication and user registration with OpenID connect, we had to enable social logins in our ANZ app, register a new application Azure AD, enable OpenID in ANZ app and fill in custom details for OpenID, provide the Azure AD application with custom claims, and modify DefaultExternalLoginInfoManager class to support the correct username.
In your ASPNETZERO project, open appsettings.json and enable social logins:

In Azure AD, navigate to "App registrations":

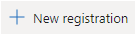
Select "New registration":
Give your application a name (this can be anything you want):

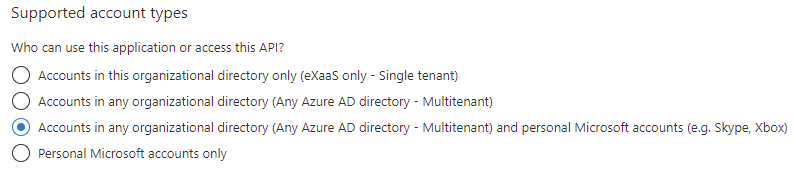
Select your Supported account types (in our case we want all options):
Set your Redirect URI:

Click Register to complete setup of your application.
Open your newly registered Azure AD app and select Authentication:

Add additional Redirect URIs:
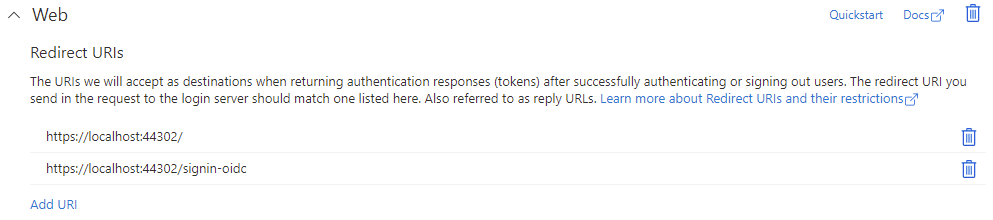
Add a Front-channel logout URL:

Select "ID tokens" for your Implicit grant and hybrid flows:
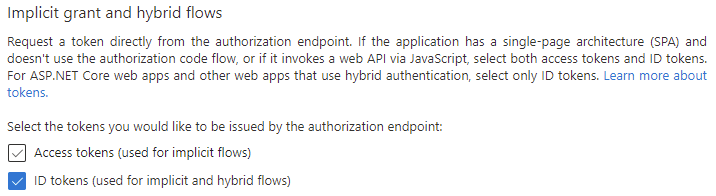
Save your changes.
Navigate to Certificates & Secrets:

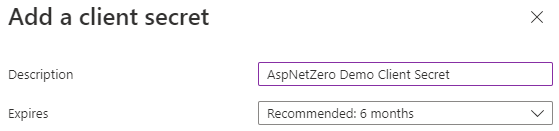
Create New client secret:

Provide a description and expiration time and click Add:
You will see your new client secret; document the "Value", you will only see it this one time:

Find your Client ID on the Overview tab :

You configure your appsettings.json OpenID settings as follows:

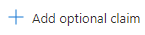
Provide custom claims within your Azure AD app buy selecting "Token configuration"

Select "Add optional claim":
Select ID as the Token type and then "email" from the Claim list:

Click Add, you will get a prompt, select the check box and click Add:

Now you need to modify your DefaultExternalLoginInfoManager.cs file to get the correct username:

*Without making this change, you user will register with a MD5 value.
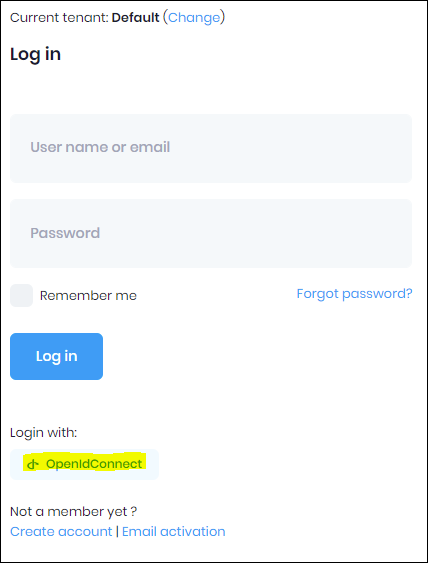
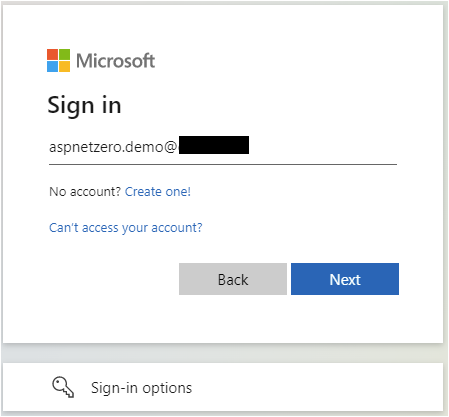
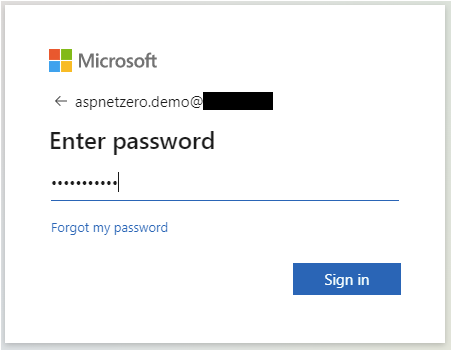
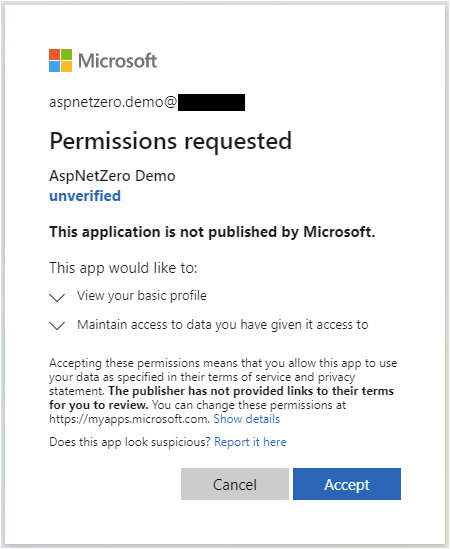
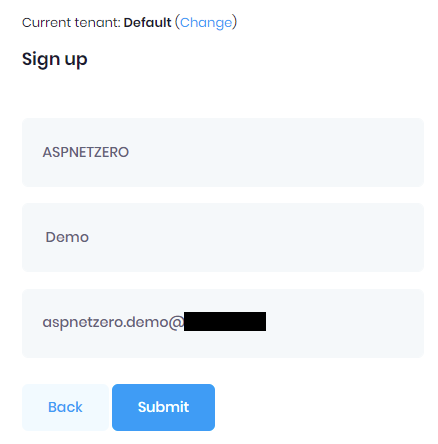
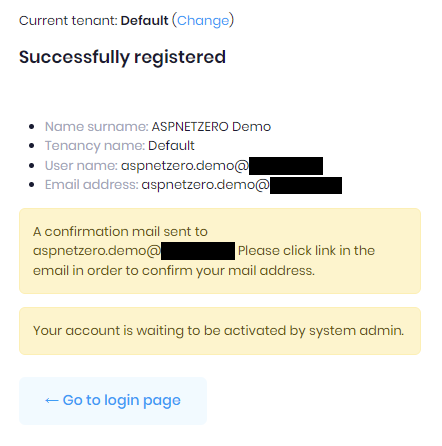
Run your application and test on the Default tenant to register a user
Screenshots from the login process: